In this article we will be looking at an alternative for installing Kali Linux on a dedicated machine or a local Virtual Machine: Kali Linux in the Cloud. Cloud based computing has become increasingly popular over the last years, also in the field of penetration testing. Instead of installing Kali Linux on local resources, it can be deployed on a VPS almost instantly and saves the time and trouble from installation. The Kali Linux desktop in the cloud can be accessed remotely over remote desktop software such as VNC, web based interfaces or No Machine. You can choose to buy a VPS and install your favourite penetration testing distribution or you can buy a pre-installed, fully configured and optimized Kali Linux VPS from a dedicated hosting provider. In this article we will be testing and comparing different options starting with a hosting provider offering the pre-configured VPS machines.
OneHost Cloud & Security
At the time of writing there’s only a handful of companies that provide Kali Linux VPS services and one of them is OneHost Cloud & Security. OneHost offers VPS’s deployed with popular penetration testing distributions such as Kali Linux, Parrot OS and BackBox. For this article we have had the chance to test a VPS that is running Kali Linux 2016.
Kali Linux VPS
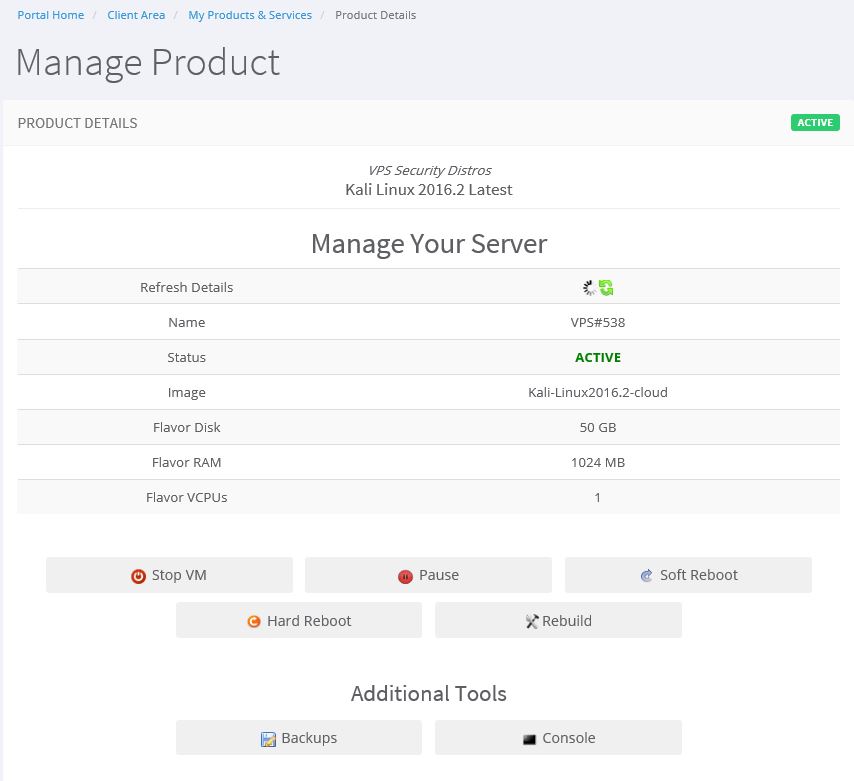
After ordering a Kali Linux VPS from OneHost the system is provisioned in less than 120 seconds and you will have access to a fully functional pentesting vps with all the tools that you’ll ever need. A complete list of tools that are included with Kali Linux can be found here. After deployment the server can be managed from the administration panel in the client area on the website. The administration panel includes functionality to control the VM, create and restore machine back-up’s and to rebuild the machine. There’s also an option to access the desktop using the console tool that uses a VNC connection. This option can be useful in some cases but for heavy interaction with the Kali Linux desktop we definitely recommend to use No Machine Remote Desktop client instead.
Accessing your Kali Linux VPS
There are a few ways to access the Kali Linux VPS, both via the command line using SSH and with remote desktop software. As we already mentioned you can access the desktop from the console tool in the client area, but for daily use it is recommended to use No Machine for better performance. No Machine is a Remote Desktop application that supports full screen desktop access and offers fast and secure remote desktop support. The No Machine software is a propriety application and comes pre-installed with every Kali Linux VPS offered by OneHost. Personally I think that this piece of software is a great benefit and adds true value to the services offered by Onehost if you plan to use the Kali Linux graphical user interface.
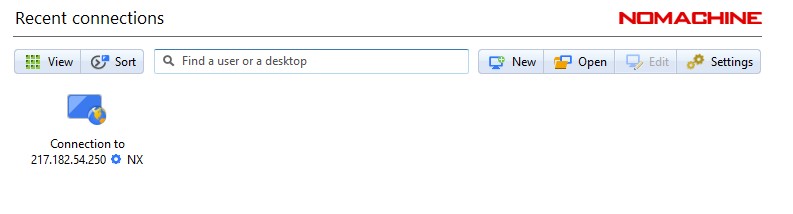
No Machine connections.
Benefits to using NoMachine with your Kali Linux VPS:
- Full Screen Remote Desktop
- Provides a console with access to local PC hardware
- Share Files between local and remote
- Highly compressed bandwidth for performance increases
- Access via any device even Smart phones
- Multiple Authentication methods
When you prefer to use the command line instead of a GUI you can also access your VPS over SSH.
Support
An additional advantage of OneHost is that they provide comprehensive customer support over live chat, support tickets, phone and additional resources such as a knowledge base and a support forum. If you have dealt with multiple hosting providers before you probably found out that a hosting provider is as good as its customer support. Personally I always recommend to consider customer support as one of the main selection criteria when you are looking for a new hosting provider. Nothing is more annoying than issues with a VPS that require customer support and having to wait for hours (or even days) for a reply on your support ticket. OneHost offers 24/7 customer support and has a very fast response time, usually a couple minutes.
If you are curious about what OneHost customers have to say, you can find user reviews on Host Advice:
OneHost Cloud & Security: Support response times vary from 3 minutes to 12 mins as looking at the report for last month the longest response time was 12 mins which is better than most of the big providers.
Pricing
Prices for a Kali Linux VPS start from $14,99 per month for unlimited bandwidth, 50 GB SSD storage, 1GB RAM and 1 vCPU. The ultimate machine is priced at $69,99 per month and contains 100GB SSD storage, 4 GB RAM and 4 virtual CPU’s.
Conclusion
Personally I think that the following adds value to the Kali Linux VPS services offered by OneHost:
- The NoMachine remote desktop software. It’s fast, easy to use and the client supports all commonly used platforms.
- The 24/7 Unlimited Support included with every VPS.
- 120 seconds deployment allows you to access your VPS within minutes from ordering.
- Great value for money! The $14,99 per month for the starter machine is not expensive considering the No Machine software and regular VPS pricing for memory, vCPU’s and SSD storage.
Soon we will start testing cloud based Kali Linux VPS’s from popular cloud providers such as Microsoft Azure and the Amazon AWS marketplace.
Comments
Post a Comment